Strip away genre and gear and every photograph comes down to two decisions: what the light is doing, and where the edges of the frame fall. Master these and everything else is detail.
Part one: reading light
Light has a handful of properties worth learning to see. Once a photographer reads them automatically, the camera settings tend to look after themselves.
- Direction. Front light is flat and factual; side light gives shape and texture; back light gives mood, rim and silhouette. The single fastest way to improve a picture is to move so the light comes from a more telling direction.
- Quality — hard or soft. A small or distant source (midday sun) is hard, with sharp shadows; a large or diffused source (an overcast sky, a big window) is soft. Soft light flatters faces and reveals texture; hard light creates drama and graphic shadow.
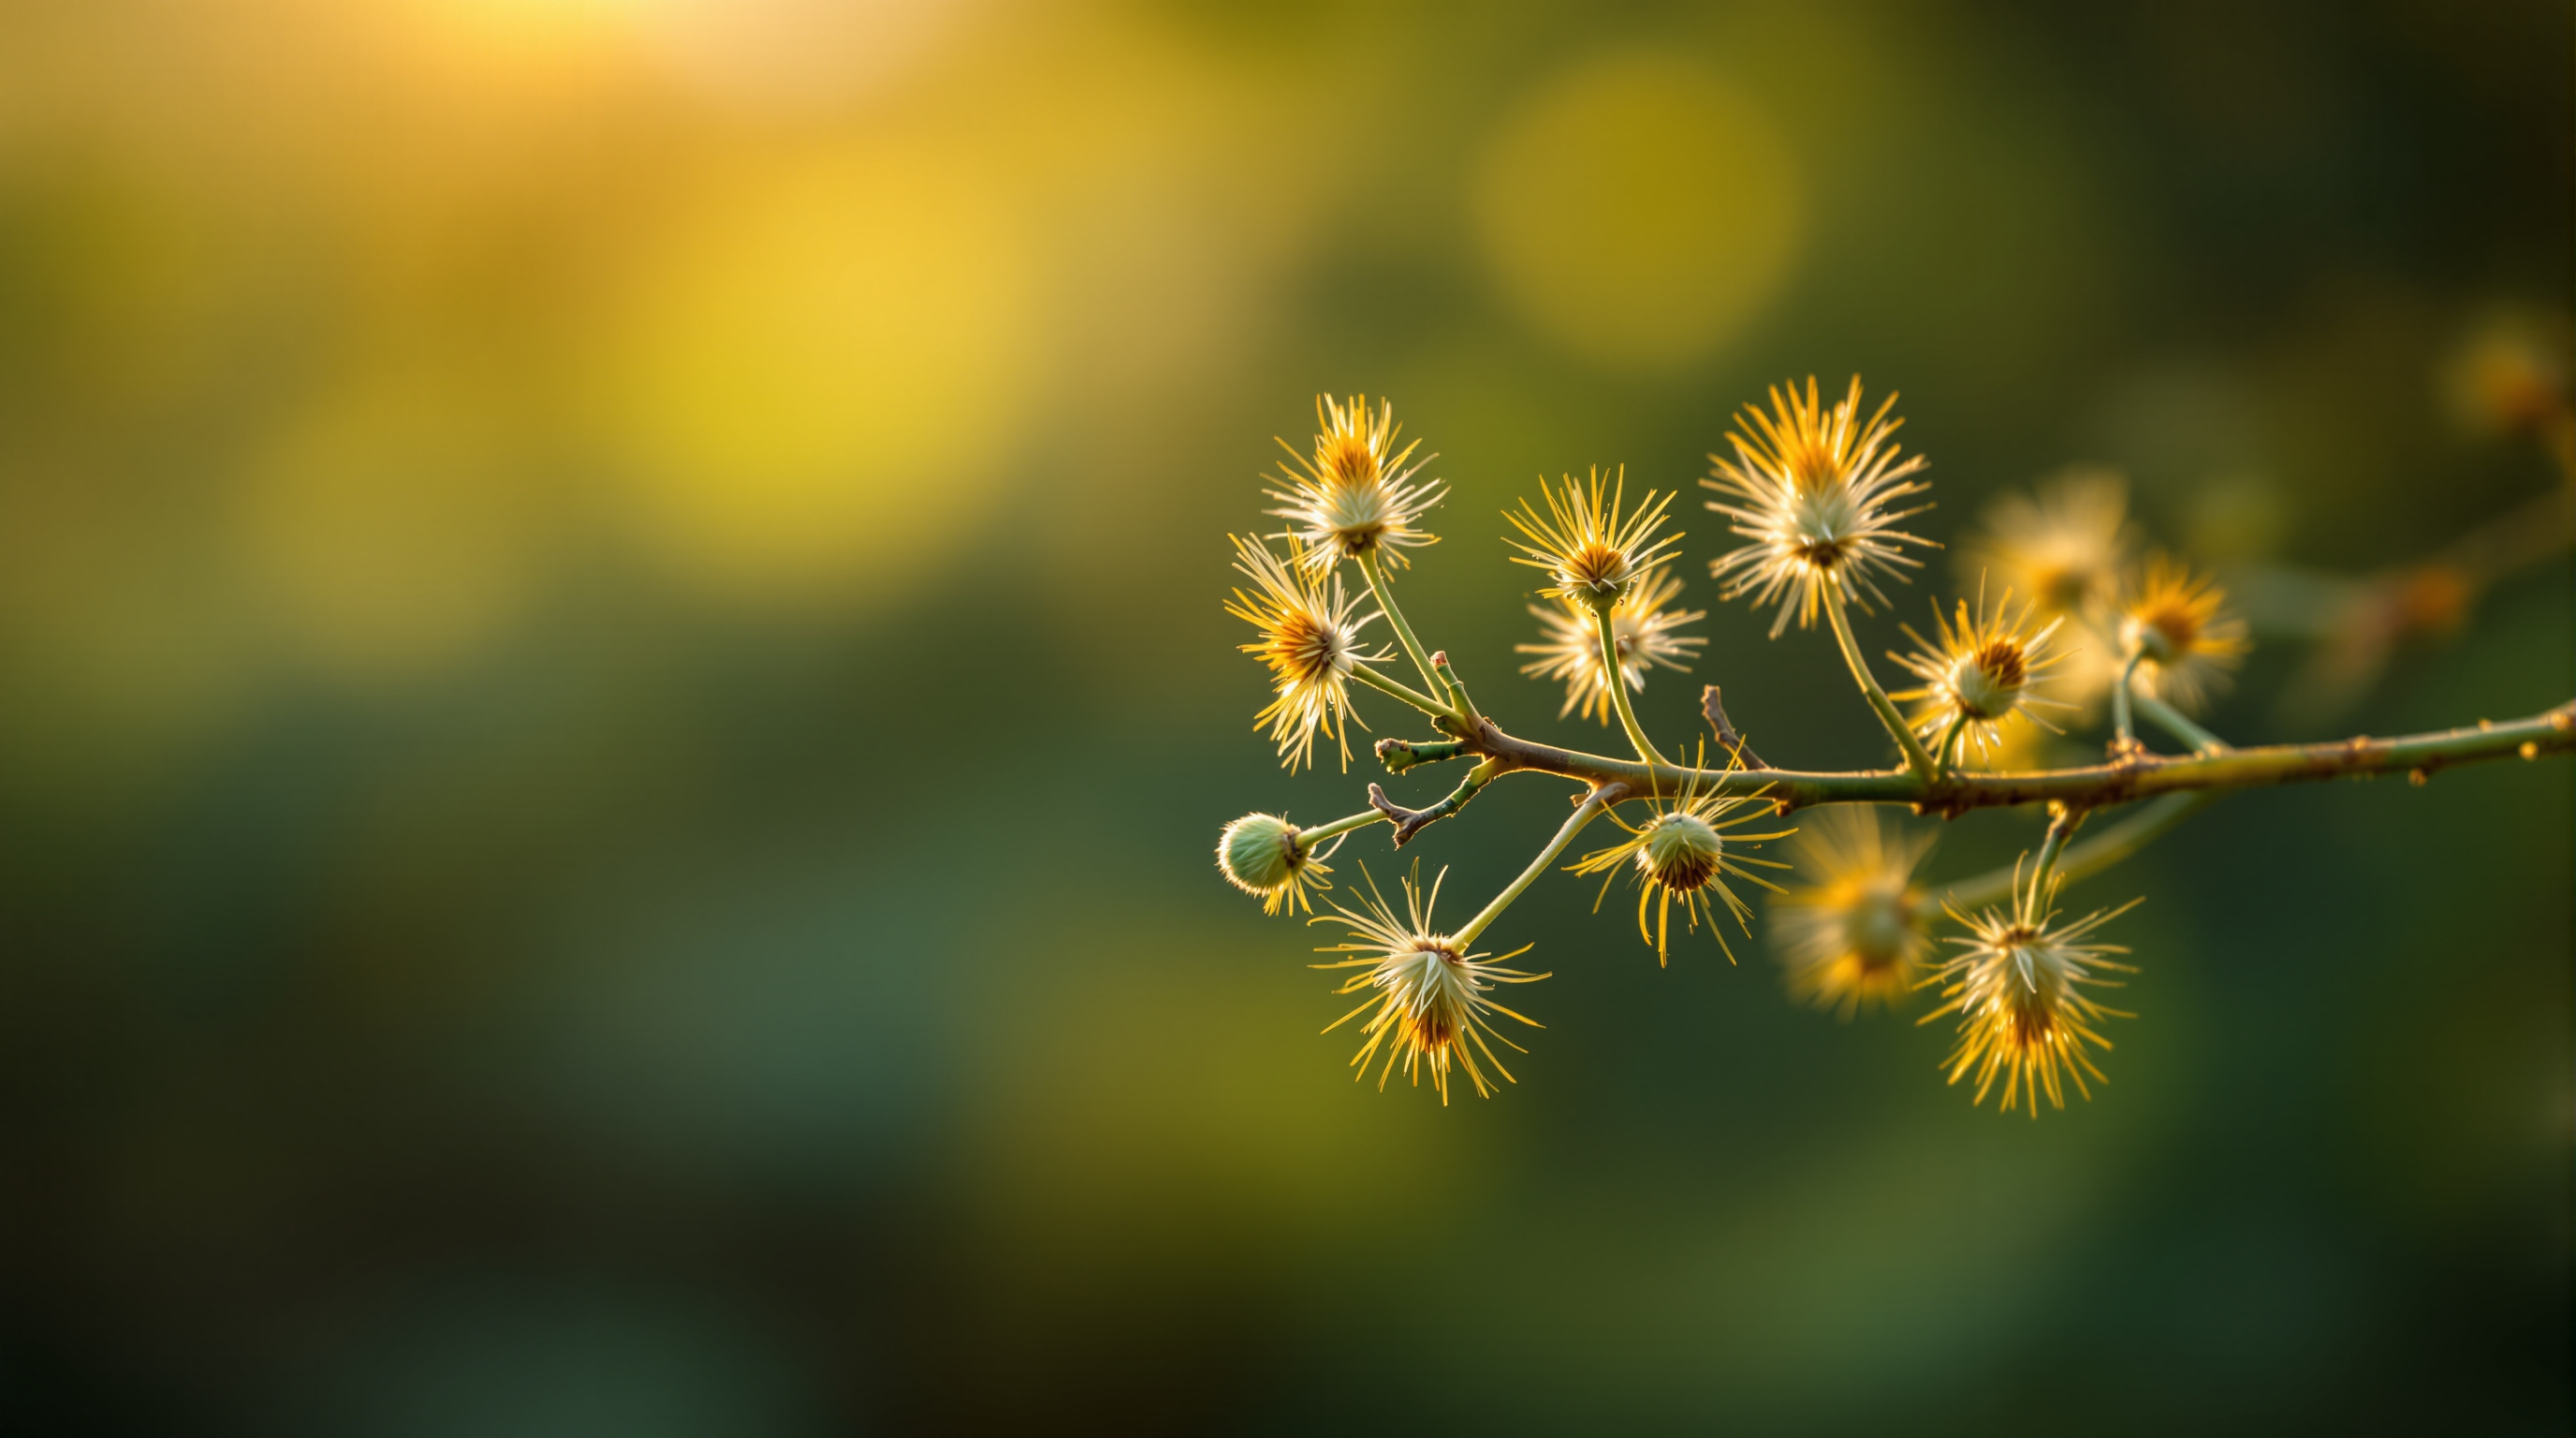
- Colour. Light warms toward sunrise and sunset and cools in shade and at dusk. The warm, low light of the golden hour and the cool even light of the blue hour are prized because they are both directional and coloured at once.
- Intensity and contrast. The gap between the brightest and darkest parts of a scene decides how much a camera can hold. Learning to expose for what matters — and to wait for, or soften, extreme contrast — is the heart of technical craft. The history of photography is in large part a history of managing this single problem.
Part two: building the frame
Composition is simply deciding what to include, what to exclude, and how to arrange what remains. A few durable principles help:
- Simplify. The most common fault in amateur work is including too much. Strong images usually have one clear subject and a reason for every other element. If something does not add, it distracts.
- Place with intent. The rule of thirds — placing key elements a third of the way into the frame — is a reliable starting point, not a law. Centre a subject when symmetry is the point; break the grid when tension is.
- Use lines and frames. Roads, rivers, fences and light itself lead the eye; doorways and branches frame a subject and give depth. The New England gorges are a natural teacher of leading lines.
- Mind the edges and the background. Amateurs watch the subject; professionals watch the edges of the frame and the background behind the subject, where distractions and awkward mergers hide.
- Give the eye somewhere to rest. Negative space — plain sky, shadow, water — is not wasted; it gives a subject room to breathe.
Part three: light and composition together
The two disciplines are really one. A composition that is dull in flat midday light can be transformed by the same scene at golden hour, when side light adds shape and shadow adds structure. Conversely, the most beautiful light is wasted on a cluttered, thoughtless frame. The practised photographer holds both in mind at once: where do I stand so the light is telling and the frame is clean?
How to practise
Pick one location and photograph it in different light across a week — dawn, midday, golden hour, overcast. Pick one lens and use only that for a month, learning its natural distance. Study pictures you admire and ask, of each, where the light is coming from and why the frame is built the way it is. The public teaching collections of institutions like the International Center of Photography are an endless, free classroom for exactly this kind of looking.
Apply it
See these principles at work in natural-light portraiture, event photography, and the landscapes of the plateau. For quick definitions of the terms used across the site, see the photography glossary.